

Flooring Installation Process: A Complete Guide to Beautiful and Durable Floors
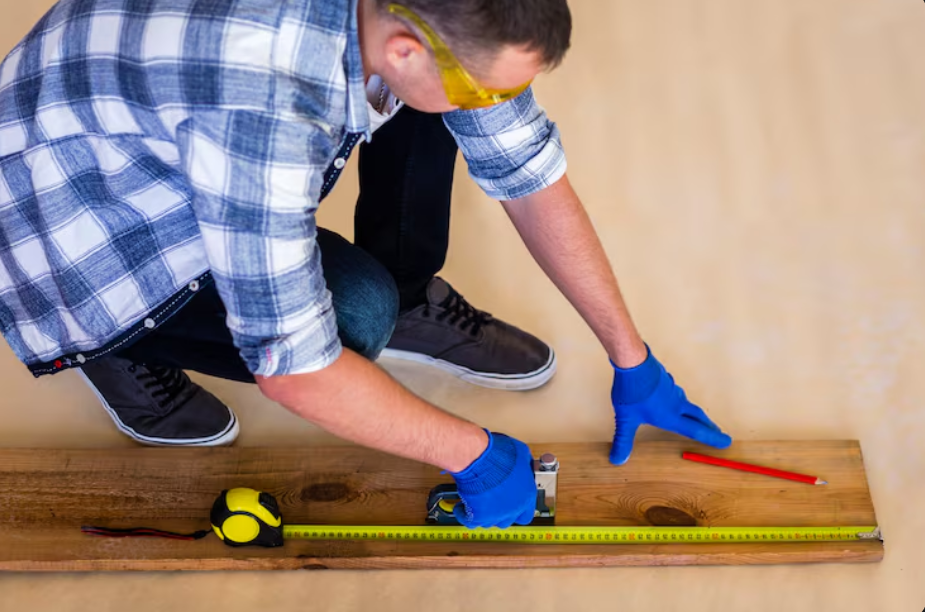
Choosing the right flooring can transform the appearance, comfort, and value of any home or commercial property. However, even the highest-quality flooring materials can fail to deliver lasting performance if they are not installed correctly. Understanding the flooring installation process helps homeowners, builders, and property managers make informed decisions while ensuring a successful project from start to finish.
Every flooring material, whether hardwood, laminate, vinyl, tile, or engineered wood, requires careful preparation and precise installation techniques. A professional approach minimizes future issues such as uneven surfaces, gaps, squeaking, moisture damage, and premature wear. By learning about the flooring installation process, you can better prepare for your next renovation or construction project.
The first stage begins with planning and selecting the right flooring material. Different rooms have different requirements. Kitchens and bathrooms often benefit from moisture-resistant flooring, while living rooms and bedrooms may prioritize warmth and appearance. The style of the home, maintenance expectations, budget, and daily traffic all influence the best flooring choice.
Once the flooring material has been selected, accurate measurements become essential. Measuring each room carefully ensures the correct amount of flooring is purchased while reducing waste. Professionals typically order a small percentage of additional material to account for cutting, pattern matching, and unexpected repairs during installation.
Preparing the subfloor is one of the most important parts of any flooring project. A clean, dry, and level surface provides the foundation for a successful installation. Any dirt, debris, adhesive residue, or damaged areas should be removed before work begins. Uneven subfloors may require leveling compounds or repairs to create a smooth base.
Moisture testing is another critical step. Excess moisture beneath the flooring can cause warping, mold growth, adhesive failure, or structural damage over time. Professional installers often use moisture meters to determine whether additional moisture barriers are needed before installation begins.
Acclimating the flooring material is especially important for wood-based products. Hardwood and engineered wood naturally expand and contract based on temperature and humidity levels. Allowing the flooring to sit inside the installation area for several days helps it adjust to indoor conditions, reducing the likelihood of movement after installation.
The removal of existing flooring may be necessary depending on the project. Old carpet, tile, laminate, vinyl, or hardwood must often be carefully removed before installing new flooring. During this phase, installers inspect the condition of the underlying subfloor and make any needed repairs before proceeding.
Proper layout planning helps achieve an attractive finished appearance. Installers determine the direction in which flooring planks or tiles will be placed. In many cases, flooring is installed parallel to the longest wall or toward the primary source of natural light. Careful planning also helps avoid narrow strips of flooring along walls, creating a more balanced design.
Expansion gaps are included around the perimeter of the room when installing floating floors and hardwood flooring. These small spaces allow the flooring to expand and contract naturally with seasonal humidity changes. Baseboards and trim later cover these gaps while allowing the flooring to move freely beneath them.
Different flooring materials require different installation methods. Hardwood flooring may be nailed, stapled, glued, or floated depending on the product and subfloor type. Laminate flooring often uses click-lock systems that allow planks to connect securely without nails or glue. Vinyl plank flooring may also feature floating systems or full adhesive installation. Ceramic and porcelain tile require thin-set mortar and grout to create a durable finished surface.
Precision cutting is necessary throughout the installation. Doorways, corners, vents, cabinets, and irregular room shapes require careful measurements and accurate cuts. Professional installers use specialized saws and cutting tools to create clean edges while minimizing material waste.
Maintaining consistent spacing throughout the room ensures a uniform appearance. Flooring planks should align properly without noticeable gaps or uneven joints. Staggering end joints also improves structural stability while creating a more natural visual pattern, particularly with wood and laminate flooring.
Adhesives play an important role in certain flooring systems. Choosing the correct adhesive based on the flooring type and subfloor material contributes to long-term durability. Proper curing time must also be respected before allowing foot traffic or moving furniture into the room.
Tile flooring installation includes additional steps such as laying mortar, positioning tiles with spacers, allowing proper drying time, applying grout between the tiles, and sealing grout when necessary. These steps contribute to water resistance and help maintain the finished appearance for years.
As installation progresses, professionals continuously check alignment using measuring tools and straight edges. Small adjustments made during installation help prevent larger problems from developing later in the project.
After the flooring has been installed, trim pieces and transition strips are added where different flooring surfaces meet. These finishing details improve appearance while protecting flooring edges from damage. Thresholds, reducers, stair noses, and T-moldings provide smooth transitions between rooms and flooring materials.
Cleaning is another essential step before the project is considered complete. Dust, adhesive residue, grout haze, and construction debris should be thoroughly removed using products recommended for the specific flooring material. Proper cleaning highlights the beauty of the newly installed floor while preparing it for immediate use.
A final inspection ensures that every plank, tile, or sheet has been installed correctly. Installers check for loose sections, uneven areas, visible damage, and proper finishing around walls, doorways, and transitions. Any minor adjustments can be completed before the project is officially finished.
Furniture should be returned carefully to avoid damaging the new flooring. Many professionals recommend using felt pads beneath furniture legs to prevent scratches and dents. Heavy appliances should be moved with protective equipment rather than dragged directly across the floor.
Routine maintenance helps extend the life of newly installed flooring. Sweeping, vacuuming, and damp mopping with manufacturer-approved products remove dirt that can cause scratches over time. Promptly cleaning spills also helps prevent stains and moisture-related damage.
Climate control plays an important role in maintaining many flooring materials. Stable indoor humidity and temperature reduce expansion and contraction, especially for hardwood flooring. Using humidifiers or dehumidifiers when necessary helps preserve the floor's appearance and structural integrity.
Homeowners should also follow maintenance recommendations specific to their flooring type. Hardwood may require occasional refinishing, while tile grout benefits from periodic sealing. Vinyl and laminate generally require simple cleaning without excessive water exposure.
Professional installation offers several advantages beyond appearance. Experienced installers understand manufacturer requirements, local building standards, moisture management, expansion allowances, and proper installation techniques. Their expertise often helps preserve product warranties while reducing the risk of costly repairs in the future.
While some homeowners choose to complete flooring projects themselves, complex layouts, uneven subfloors, intricate tile patterns, and specialty materials often require professional knowledge and specialized equipment. Hiring experienced installers can save time while delivering more consistent results.
Budget planning should include more than just the flooring material itself. Preparation work, underlayment, adhesives, moisture barriers, trim, transitions, removal of existing flooring, and labor all contribute to the total project cost. Understanding these factors helps prevent unexpected expenses during installation.
The flooring installation process is more than simply placing new flooring inside a room. It involves careful planning, thorough preparation, accurate measurements, quality materials, professional techniques, and attention to every detail. Each step contributes to creating a floor that is attractive, durable, comfortable, and built to withstand years of daily use.
Whether renovating a single room or completing a full property upgrade, investing time in understanding the flooring installation process leads to better decisions and more satisfying results. With proper preparation, skilled workmanship, and ongoing maintenance, new flooring becomes a lasting investment that enhances both the beauty and functionality of any indoor space for many years to come.

 English
 Arabic
 French
 Spanish
 Portuguese
 Deutsch
 Turkish
 Dutch
Dutch
 Italiano
 Russian
 Portuguese (Brazil)
 Greek
Greek